
Macramé is becoming very popular amongst beading and jewellery making. The techniques of macrame lend themselves to creating lovely bracelets. In this guide, we will start by showing you how the square knot can be used to progress your macrame projects.
To prepare for this project you will need:
- Macramé board (available by clicking here)
- A selection of beads
- Glue
- Cord
What is the best cord for macramé?
When making your bracelets, Riverside Beads recommends 1.5mm cord or 0.6mm depending on your choice of beads. Smaller beads will be better suited to the thinner cord. We stock a wide selection of cord which you can find by clicking here.
What beads are good for macramé bracelets?
Use any beads that you like so long as they fit onto your cord. As detailed above, you will need to vary the thickness depending on the hole size of your beads.
Our project uses 10mm Shamballa style beads and also 10mm and 8mm hematite beads on a 1.5mm cord.
How To Make Macramé Bracelets
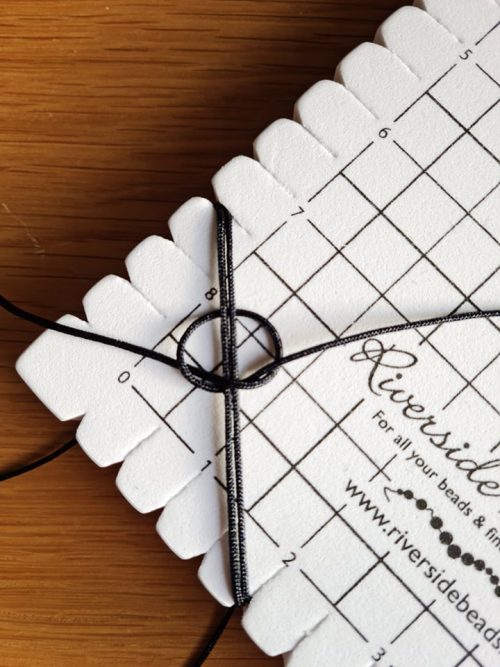
1.Cut a length of cord about 14 inches long. Place one end into the top of your macramé board. Put the other end into the bottom, this becomes the ‘lazy’ cord. Cut another piece measuring 36 inches and pop under the lazy cord. It should sit approximately 2 inches from the top of the board. Keep them even on both sides.
2. Move the right side of the cord over the top of the lazy cord, to create a D shape. Ease the cord on the left down over the right cord, underneath the lazy cord and up through the D shape. Pull either side of the knot. For the first knot you should check it is still in the centre of your cord. Do this because you need to have equal amounts of cord on each side.
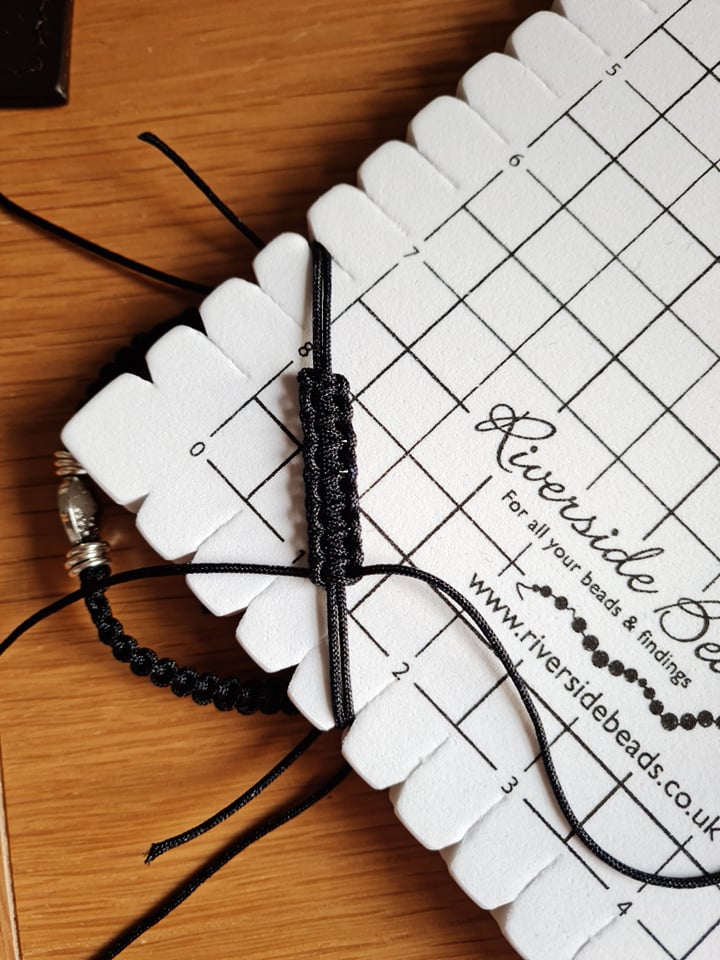
3. Take the left piece of cord and make a backwards D over the top of the lazy cord. Next move the right piece down over the left piece, under the lazy cord and up through the backwards D. To tighten the knot pull either side of the cord.
-
Starting your knots -

Adding your beads -
Loop through the D shape
Now repeat, creating more knots using opposite sides of the cord, depending on long you want the macramé bracelet to be.
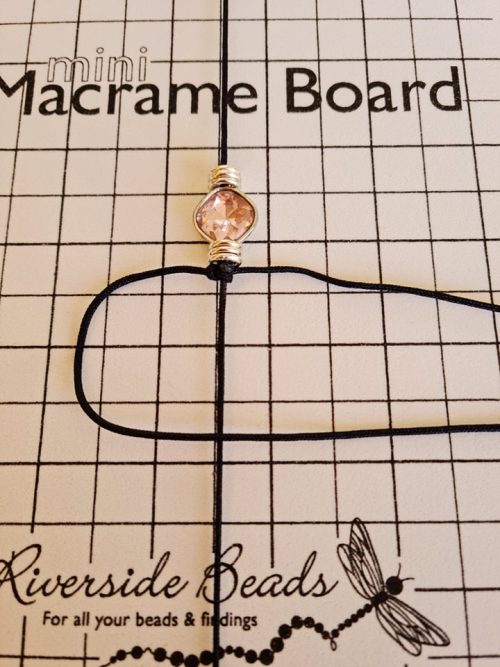
4. Remove the lazy cord from the bottom and start to add your beads on. Reposition the lazy cord at the bottom and push the first bead up towards the knots. Knot in the same way around the bead and repeat the process until all of your beads are included. Continue to create the knots until you have 2 inches either side of your beads.
5. Secure the ends of your cord with hypo cement or a similar strong glue. Glue all around the cord where it leaves the knot. Once it is dry cut flush to the knot and secure with more glue. Next take the bracelet off of your board, overlap the two end pieces and secure back onto the board over the corner. Now cut a further piece of cord approximately 14 inches long, depending on how big you want the back section to be.
6. Place the cord underneath the two pieces of cord and repeat the knotting until the back section is the desired length. Remove the bracelet from the board and secure each end with more glue. Add the remaining two beads onto the two lazy cords (the pieces that were secured down). Tighten your bracelet by pulling each of the cords open and closed. Once the glue is dry trim all extra ends off.
-
Create the back piece -
Macramé Knots -
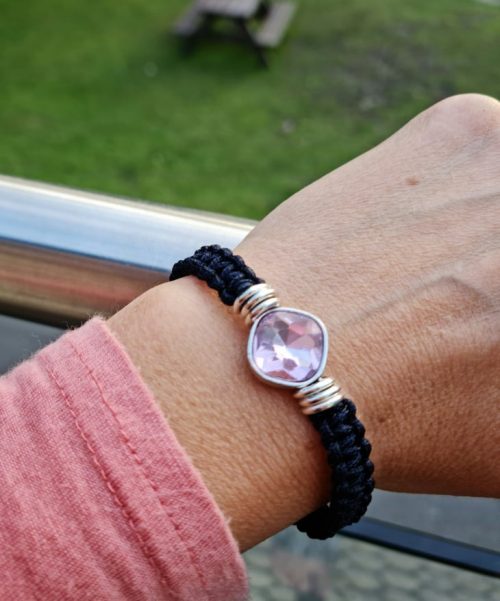
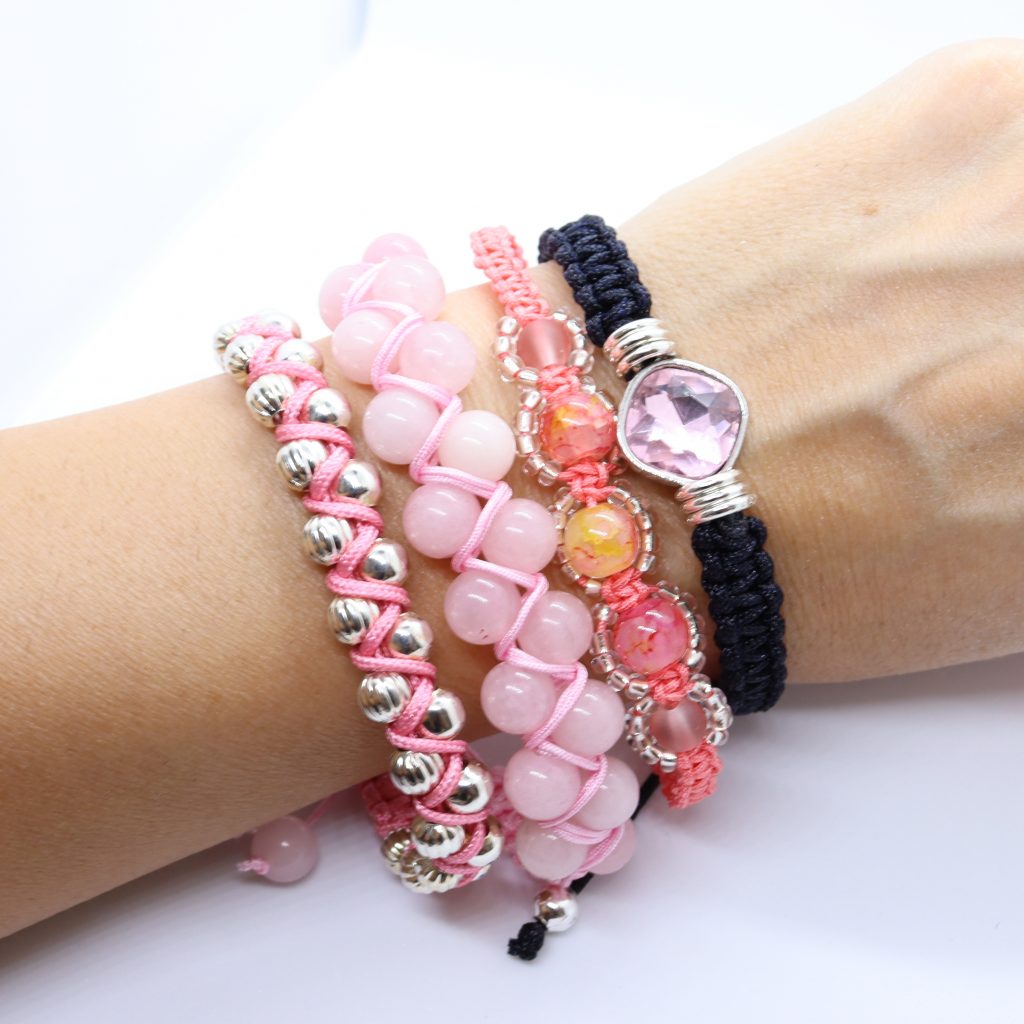
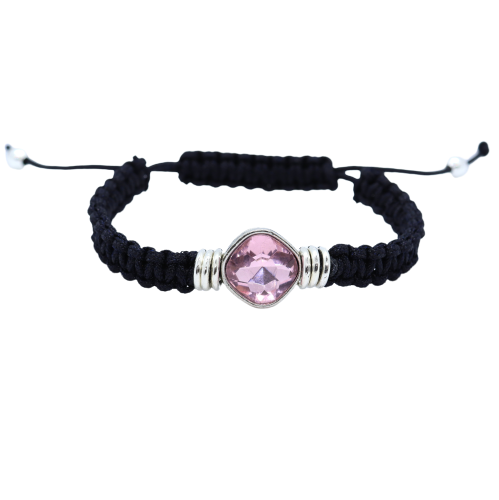
Macramé Bracelets
Want more macramé?
Macramé has featured in our Riverside Bead Subscription Box on multiple occasions which can be signed up to on a monthly, 3 monthly or annual basis. Get yours now by clicking here. Other creative macramé kits can be found in our store here.