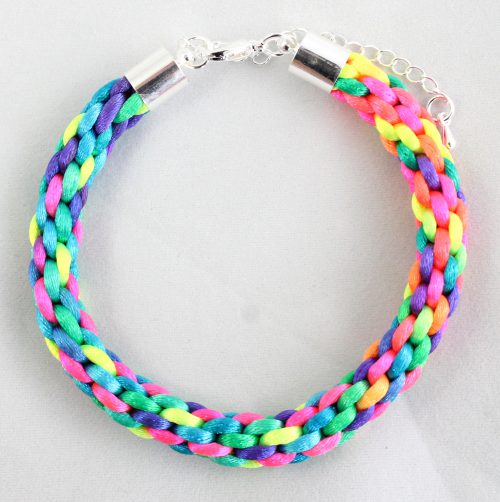
Adding end caps to Kumihimo braids is a great jewellery making technique to finish your jewellery pieces.
Kumihimo is the art of Japanese braiding and is most popularly uses now to make amazing pieces of jewellery. Owner of Riverside Beads, Donna McKean Smith has written two books about Kumihimo so you could say this is a specialist area of ours. (Read more on our Kumihimo Guide).
Making Kumihimo braids is an easy skill to learn and produces really stunning pieces of jewellery, from bracelets to necklaces. Adding an end cap to Kumihimo Braids is possibly the tricky part. Here are our simple steps to adding your end caps to your Kumihimo braid.
Adding Your End Caps
Once you have your finished Kumihimo weave and are happy with the length:
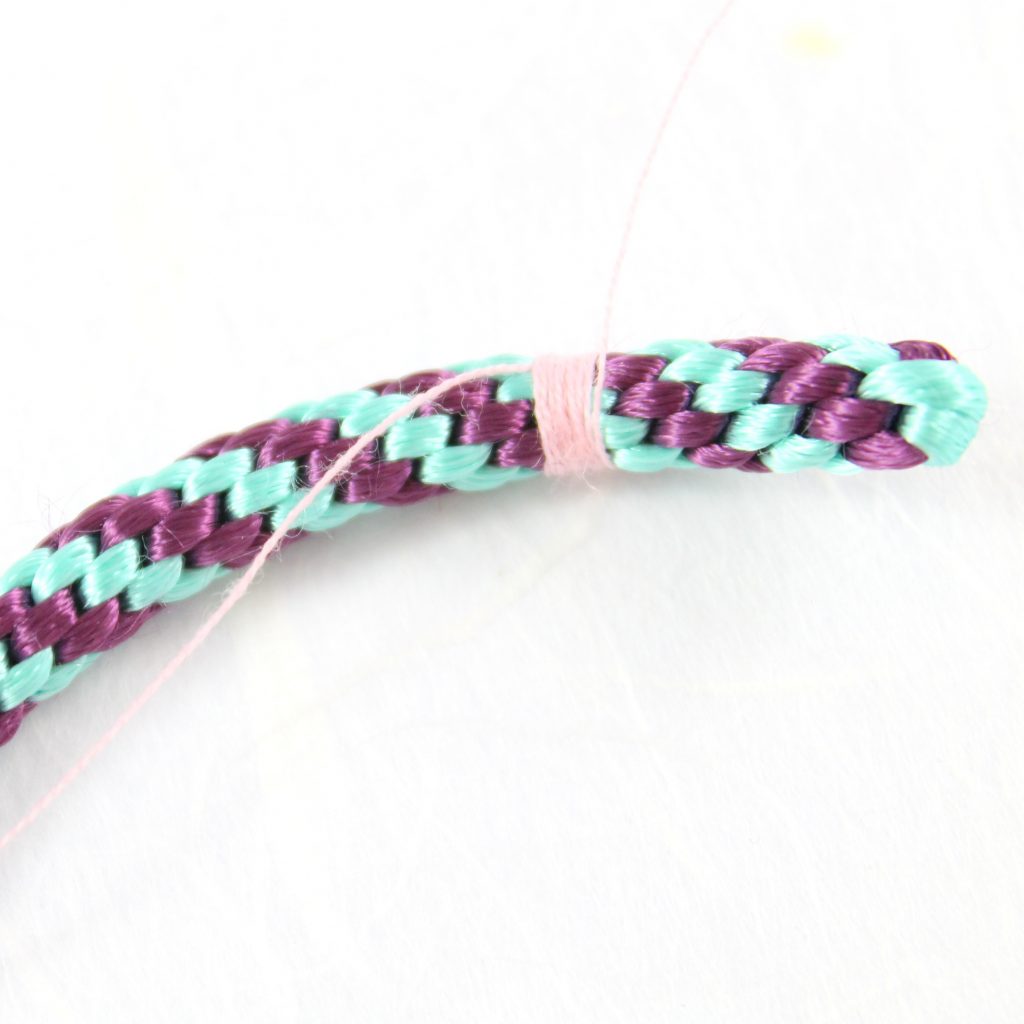
- Take some thread and bind it tightly around the braid.
- Next use your scissors to make a clean cut and pop it into an end cap.
- You might need to trim it down to make sure it fits. The cap should cover all of the binding thread on the end of the braid.
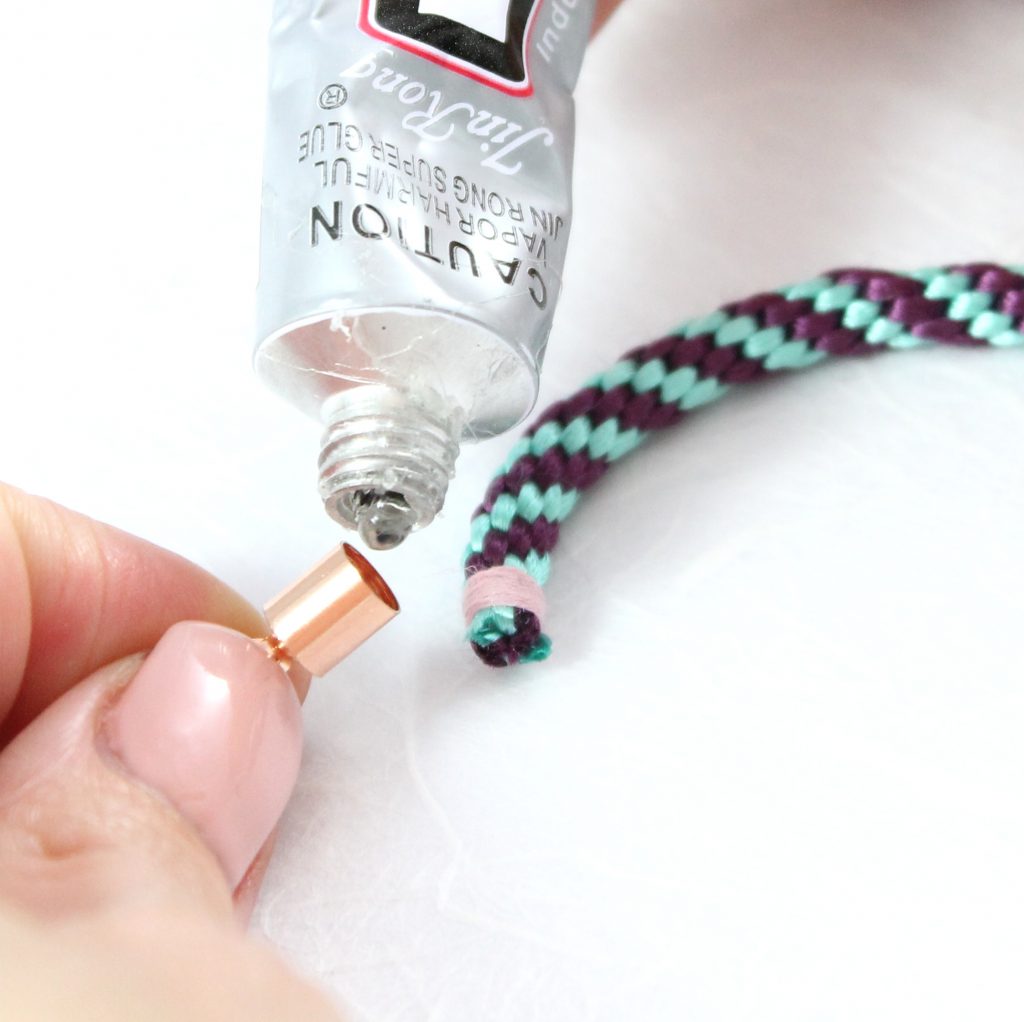
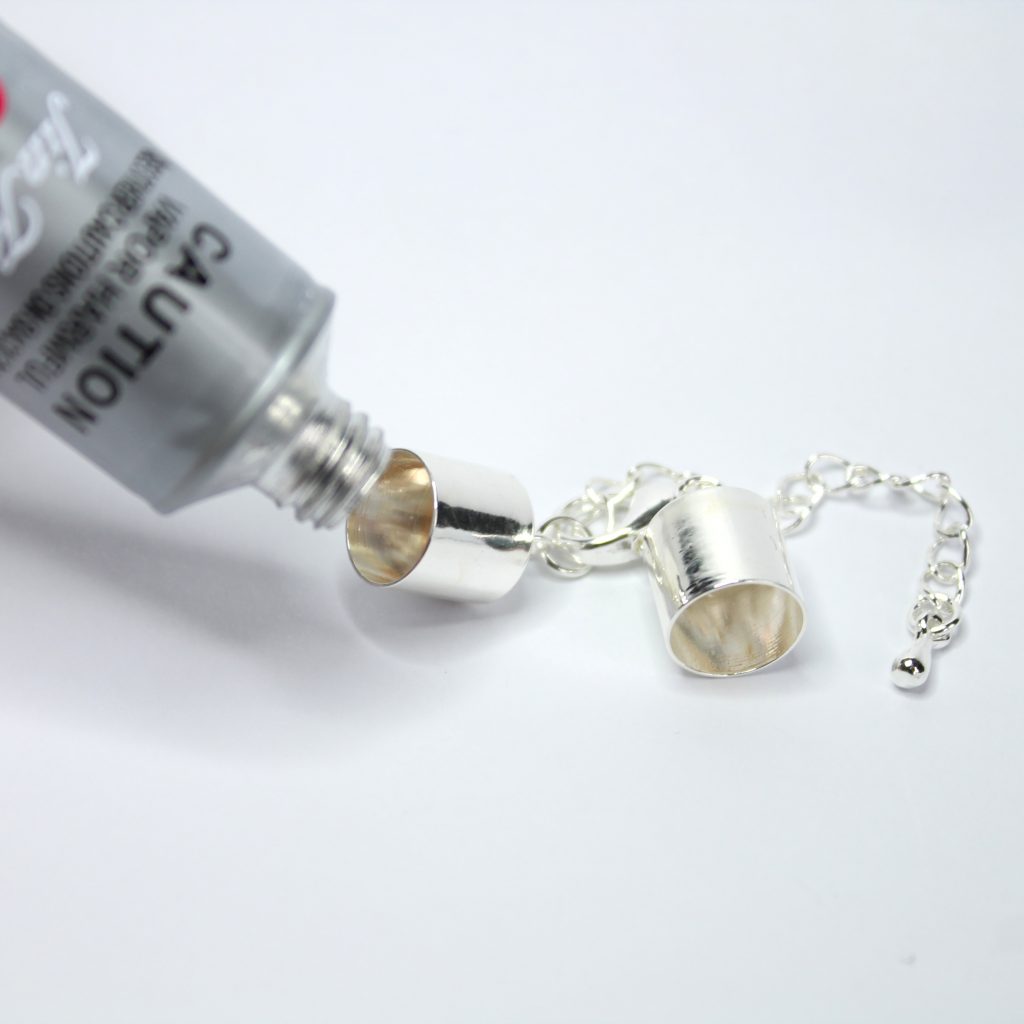
- Once you’ve made sure it fits, fill your end cap one third with E6000 glue.
- Push the cap on, twist round to cover the glue around the braid and hold firmly and then repeat on the other end.
- After this leave overnight to fully set.
- Next to complete your end caps you will need to add jump rings and a clasp of your choice (or you can pick up our ready done clasps). This technique works well for magnetic clasps too.

Bind the thread around the braid. 
Add one third glue to the end cap. 
Glue directly into the end cap (1/3).
Get The Right Sized End Caps
The most challenging part about this is getting the right sized caps for your braid. Here are our recommendations:
- 8 strand braids (1mm rattail) – use 5 or 6mm end caps
- 8 strand braids (2mm rattail) – use 8mm end caps
You can also pick up an easy to use bead gauge here to measure the size of your braid to work out the most suitable end cap.


