
Needle felting is a technique that involves sculpting wool fibres using a special needle. Learning how to needle-felt beads opens up a realm of opportunities when creating new jewellery, home furnishings and embellishments. This guide will take you through the steps required to needle felt a bead, which will give you the ability to turn simple wool into pieces of art.
Riverside’s wonderful felting tutor Eve Marshall runs a host of different needle-felting workshops in our in-store classroom. Make a beautiful landscape felted image or a miniature felted animal with Eve’s expertise. You can browse her workshops by clicking here.
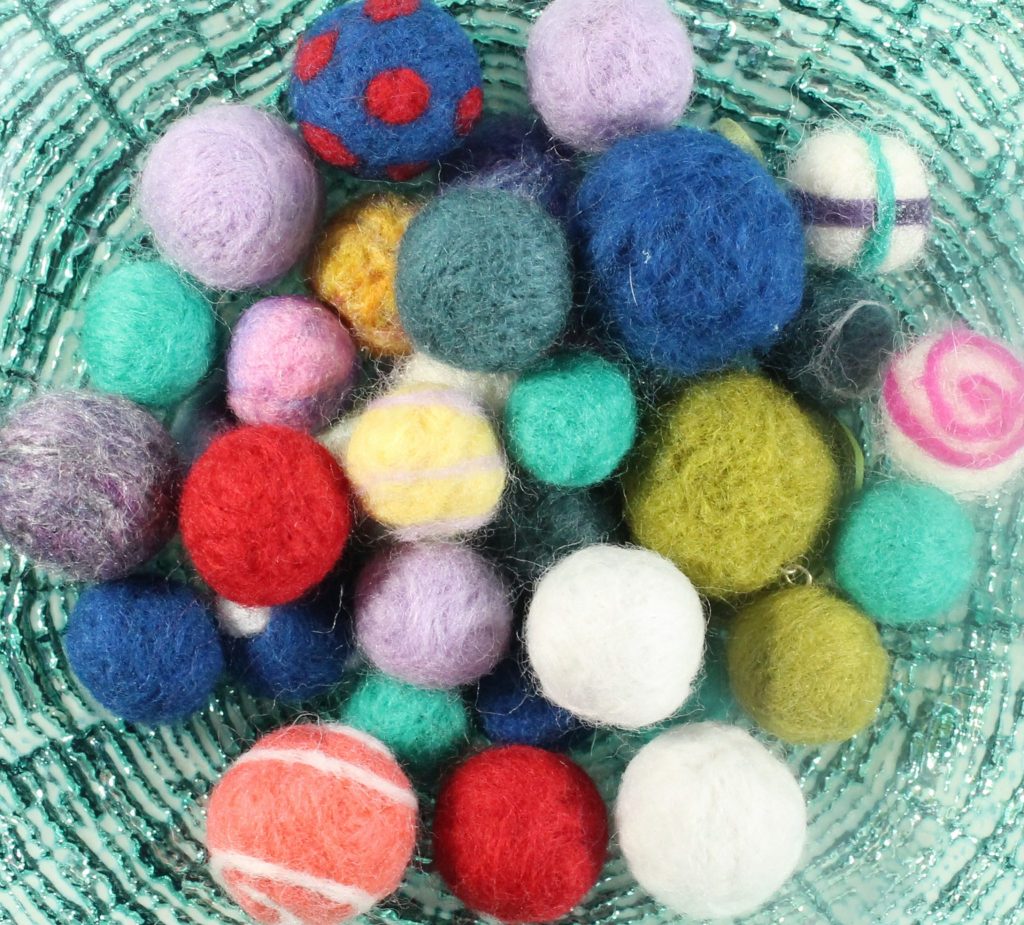
To needle felt a bead you will require:
- Needle felting pad
- Felting needle (36 Gauge)
- Beads
- Merino wool felt
Safety Tips
- The needle used for felting are barbed needles and are very sharp. Please be sure to keep them out of reach of children and use with care.
- Always felt into the pad provided and onto a hard surface. Wear a thimble when holding the felted bead if you need to for safety.
1. Take a length of wool; the size will depend on the bead you are using, try a palm size piece to start with. Start to fold in one end and continue to fold in the edges.
2. Continue to fold over the felt, changing the direction you fold it and keeping it as tight as possible. Once the felt is folded into a rough ball shape use your needle to push into the felt to start to secure the bead together, move the needle in different directions and rotate the bead round to ensure the needle touches as much of the bead as possible.
3. Once the felt is roughly secured together roll the bead in your hands to help form a ball shape.
4. Continue to felt around the bead, taking care to only push your needle through the felt and not too far into your mat (and mind your fingers!). Add further layers as required to make your felted bead larger – you can’t take felt away from a felted bead but can add to it!
Adding Dots
1. Take a small piece of wool; the size will depend on the size of the dot you would like to create.
2. Fold or roll into a rough ball shape (wetting your fingers slightly can help).
3. Take your needle and gently press round the edges of the dot
4. Continue to felt over the dot until it is attached.
If you over-felt the dot will disappear into the bead. If this happens just add another piece on top.
Adding Stripes
1. Take a thin piece of felt and roll into a long length.
2. Start at one end and use your needle to felt over the stripe in the pattern you want, moving along the stripe until it is secure.
3. Take a needle to pierce a hole through your bead, ensuring you push down into your pad. Alternatively, depending how tight your felting is you may be able to push a headpin through.
Your bead is now ready to add into your jewellery making project!
Riverside stock a huge range of felting materials and tools to get you started with this technique. Click here to browse. If you prefer to learn from the master herself then Eve has some felting workshops available for booking by clicking here.