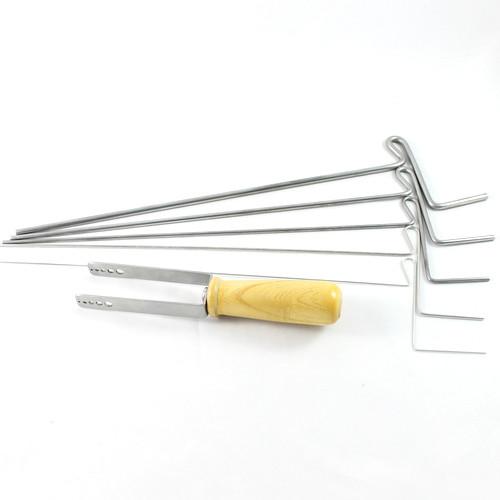
Our previous blog covered the basics of coiling gismo and how to get started with this versatile technique. You can read this here. This blog will take you a step further and show you how to create gorgeous coiled flower findings as well as coiled beads, for use in all of your beading projects. Let’s get started!
Making A Coil Bead
You will need:
- Coiling Gismo tool
- Jewellery Wire
- Wire Cutter
1. Using your Coiling Gismo, take a piece of coil 5 inches long (see last week’s blog for further details), using 0.4mm wire.
2. Take off the handle and pull the coil apart so it doubles in length.
3. Wrap the wire over the finger a couple of times, removing this from the finger and randomly wrapping around in different directions. A ball of wire will start forming.
4. Tuck the end of the wire in the ball, hooking over another piece of wire and pinching to secure. Then just roll between the hands to even out the shape.
By varying the size of the coils, you can make different size wire ball beads, e.g. the longer the coil, the bigger the bead will be.
Making a Coiled Flower
You will need:
- Single Coil – cut into five pieces (each piece 1 ½“ long)
- Thicker Core Wire – matching colour
- Thin Wire
- Beads
1. Taking your five single coils, thread these onto a core wire.
2. Take one coil and bend into a petal shape, twisting the core wire together at the bottom.
3. Move the next coil up to the first petal formed and repeat.
Do this with all remaining coils, twisting the wires slightly underneath to secure.
4. Next take a piece of thin wire and start adding the beads. You can either add a group of beads or just one large focal bead in the centre – twist at the back to secure. Et Voilà!
Depending on what you are doing with the flower, cut off the wire at the back or leave on to attach to a brooch pin or hair comb, or create a bail for a pendant.
Riverside stock an exclusive extra long handle, 5 mandrel gismo along with wire in 40 colours and lots more. Click here to view the gismo!


